We take you behind the scenes to reveal how you can use handheld light to create photos such as this mysterious abandoned modern house in the Mojave Desert.
What Is Light Painting?
I lit the living room of a modern-style abandoned house using a technique called "light painting." This phrase is often used loosely to describe any addition of light to a night photograph. Really, though, light painting refers to a technique that uses a handheld light source to illuminate a scene during a long exposure. Your flashlight is your paintbrush, and you are quite literally painting the scene with light. Similar to a film director, you control what you illuminate and what you keep in shadow using your handheld light. Night photographers have used this technique for many decades.
I like handheld light painting because it's not only the most creative form of photography I can think of, but it's also quick, doesn't require setting up lights on stands, is flexible and versatile, and requires very little equipment.

I used a ProtoMachines LED8 light to light this scene. It's unfortunately discontinued. However, you can use any handheld RGB light, such as the Ants on a Melon RGB Critter BT, or even a light panel such as the Lume Cube Panel Pro 2.0 RGB LED Light Panel.
Let's see how I went about light painting the interior of this house.
Four Easy Steps Using Handheld Light
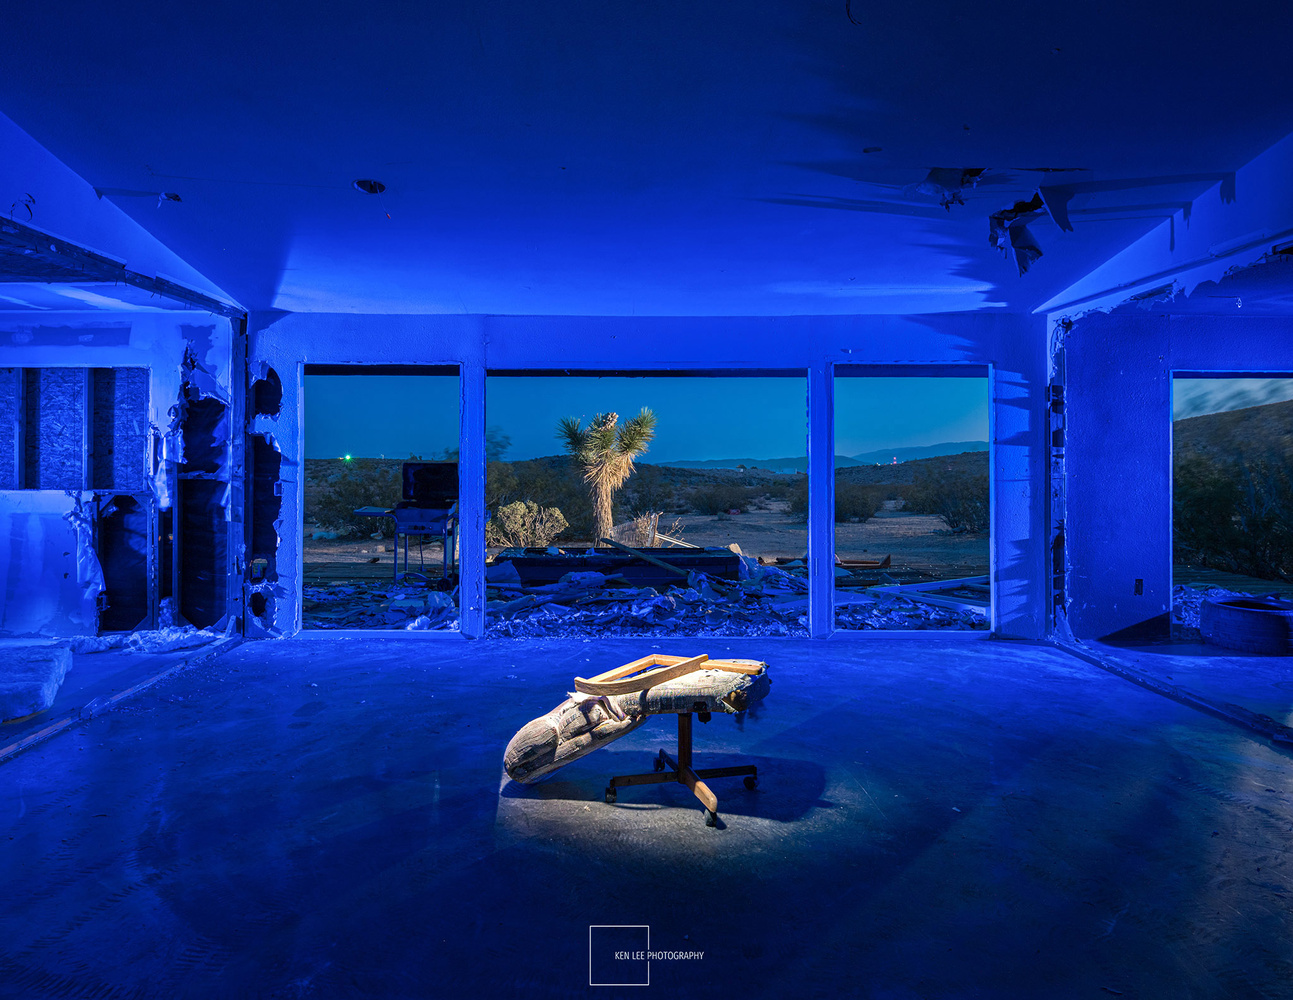
Step One: Lighting the Room in Blue Light from the Left Side
I activated the camera for a two-minute exposure at f/9, ISO 200. Then I walked over to the left side, out of frame from my camera lens. I skimmed a blue light from the side for about five seconds, blocking the flashlight with my body just in case there was a chance that it would shine into the lens.
I set the light so that it would be dim. This way, my light painting would be nice and even and not have "hot spots." Also, I could "paint" light using several different strokes, making the light painting even more uniform.
You can see that by using a shallow angle close to 90 degrees from the wall, I was able to pick up a lot of texture from the walls and floor. I didn't light anywhere else but the wall, knowing that the white-colored walls would reflect a lot of the blue light and spill onto the ceiling and floor and elsewhere anyway.
Step Two: Lighting the Room in Blue Light from the Right Side
I walked over to the right side. Once again, hiding the flashlight with my body, I skimmed the light at a shallow angle again, using the same blue light and brightness settings as before. If you look at the photo again, you'll see the long shadows that resulted from this shallow angle. I love how that looks.
Step Three: Bathing the Chair in Light
I wanted the chair to stand out a lot from the rest of the bluish scene. To do this, I switched my ProtoMachines LED8 to a warm white light. Also, I wanted it to make it look like it was being lit by a spotlight from above. To do this, I held my light up very high and aimed it straight down on the chair, making sure that my feet and legs were out of the way. Notice the nice, defined shadow from lighting it from above? I love that!
Step Four: Lighting the Joshua Tree Outside
I decided I would also light the Joshua tree that was in the backyard. I like how your eye is drawn from the chair straight through the window. To enhance that further, I threw a little light on the Joshua tree by walking outside, making sure that the wall was blocking me, then lighting the tree at close to a 90-degree angle from the right side. I also lit the shopping cart in front of the Joshua tree.
How Can You Walk Around the Scene Without Showing Up in the Photo?
Good question. This is one of the most common questions asked about handheld light painting.
To begin to show up in a photo, you have to stand still for at least 10% of the total exposure. Since this was a two-minute exposure, I would have needed to stand still for at least 12 seconds. And even at 12 seconds, I would have registered as a faint dark smudge, not identifiable as a person.
All of us—me, you, and everyone—have the ability to be invisible in this manner. If we keep moving, we will not show up in these long exposure photos, assuming that we do not shine the light on ourselves. All the same, it's better to dress in dark clothing. Some light painters almost dress like ninjas, even covering their face and hands, if they feel like there is a chance they might have some of the light shine on themselves.
About the Abandoned House
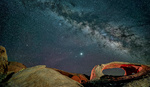
I frequently go for long walks outside. I found this house while walking around my neighborhood, about 35 minutes away in an isolated part of the Mojave Desert. While abandoned houses are not unusual in many parts of the desert, this was out of the ordinary because it was a sleek, modern-style house that looked as if it had been built recently and, all things considered, looked like it was still in good shape.
If you look closely, you can also see a barbecue and a fire pit, which had decorative glass chunks still in it. However, everything else was torn out of the house. No sinks, no toilets, no lights, nothing. In fact, the chair was the only furniture still left in the house.
If you have tips about light painting or great light painting lights that you have come across, please share them in the comments!